Tag

cookie recipes

Browsing

Best Peanut Butter Cookie Recipe (And they’re gluten-free)

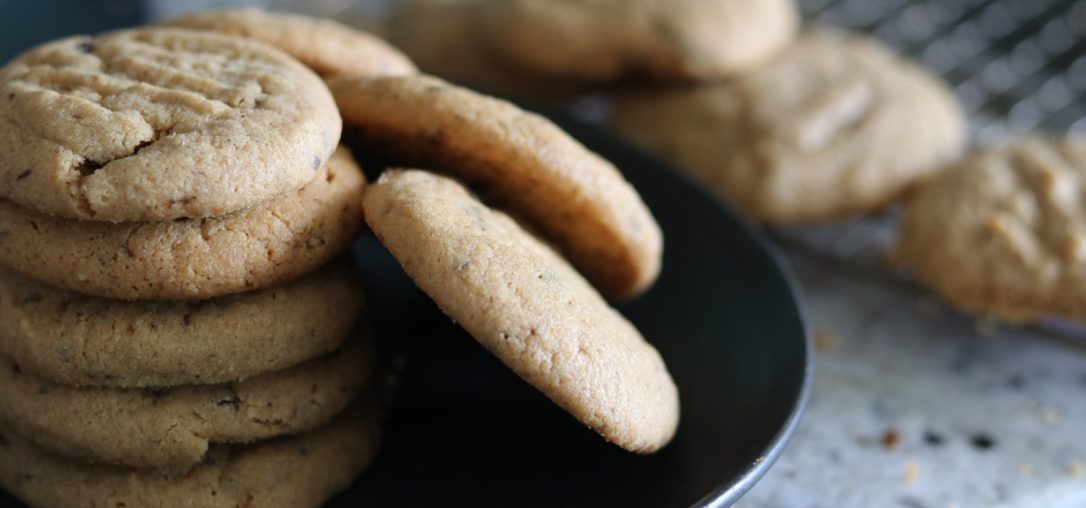
Peanut butter cookies are one of my all-time favourites. For a lot of Canadians around my age, the recipe from the back of the Kraft Peanut Butter Jars was the gold standard for parents, and I remember having those beautiful little golden discs with the cross-hatching on top on plenty of days after school.

As I learned to bake, they were also one of the first cookies I made because: 1) They’re delicious and 2) They’re easy to make!

I have played around with this recipe for years, and I’m really happy with where I’ve gotten it to. I hope you enjoy it!

Ingredients:

11/2 cup natural peanut butter (sugar-free)
3/4 cup brown sugar
3/4 cup granulated sugar
3/4 tsp baking soda
1/2 tsp salt
1 extra-large egg
Flaky sea salt (Maldon’s Smoky Sea Salt is the best for this)

Instructions:

Preheat oven to 350F and place rack in centre of the oven.

In a large bowl, beat peanut butter and sugars together with baking soda and salt until mixture is very smooth (this is important).

Beat in the egg until the mixture starts to resemble dough and holds together.

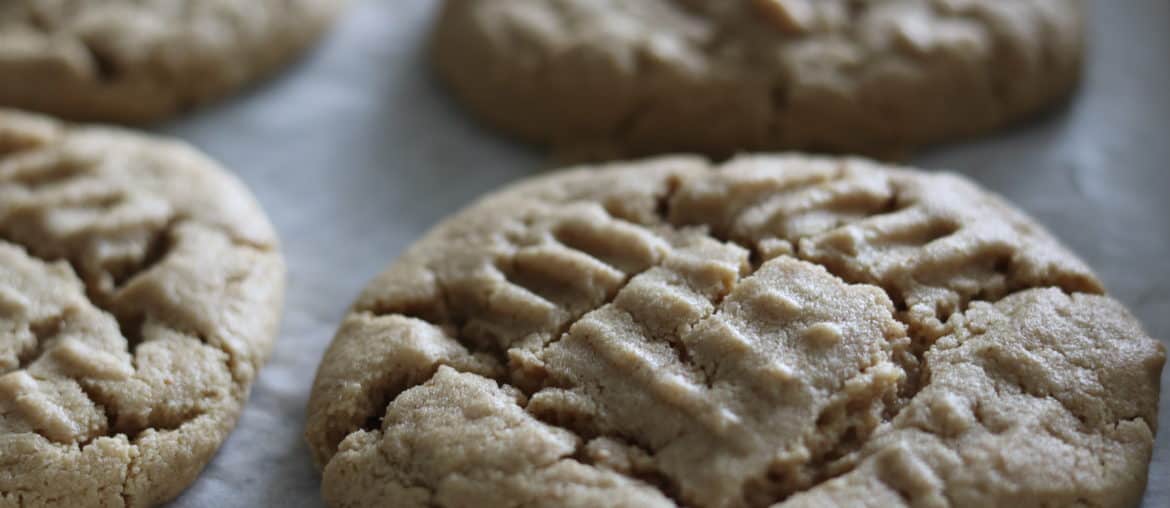
Using a 1/4 cup sized scoop, roll portioned balls of dough and place on a parchment-lined baking sheet (2-3″ apart, they will spread while baking), using a fork to flatten the balls and cross hatch the top. Sprinkle flaky salt on top of each cookie.

Bake for 10-12 minutes until golden brown. Let cookies cool on the baking sheet for 10 minutes and then move to a wire rack to cool completely. These cookies will last in an airtight container for 5 days or can be frozen for up to 3 months).

I hope you like these as much as I do! If you make them, please tag me @JackDHarding on Instagram and feel free to DM with any questions or comments!

How to Make Oatmeal Raisin Cookies

Raisins get a lot of hate on the internet. There are countless memes about finding a raisin in your cookie instead of a chocolate chip and having it be one of the worst things that could happen. People compare them to every sort of terrible thing, and honestly, I don’t get it.

I’ve enjoyed raisins since I was a child (those little boxes of raisins at snack time anyone?) and still love them today! While they’re not the healthiest snack in the world, I will always choose a serving of raisins over a serving of chocolate chips!

As someone who likes to bake, you can do a lot with raisins! You can soak them in different liquids (like rum) and bake them into fruit cakes or other cookies or you can keep them as-is and bake them into bread, cookies, bars, etc….

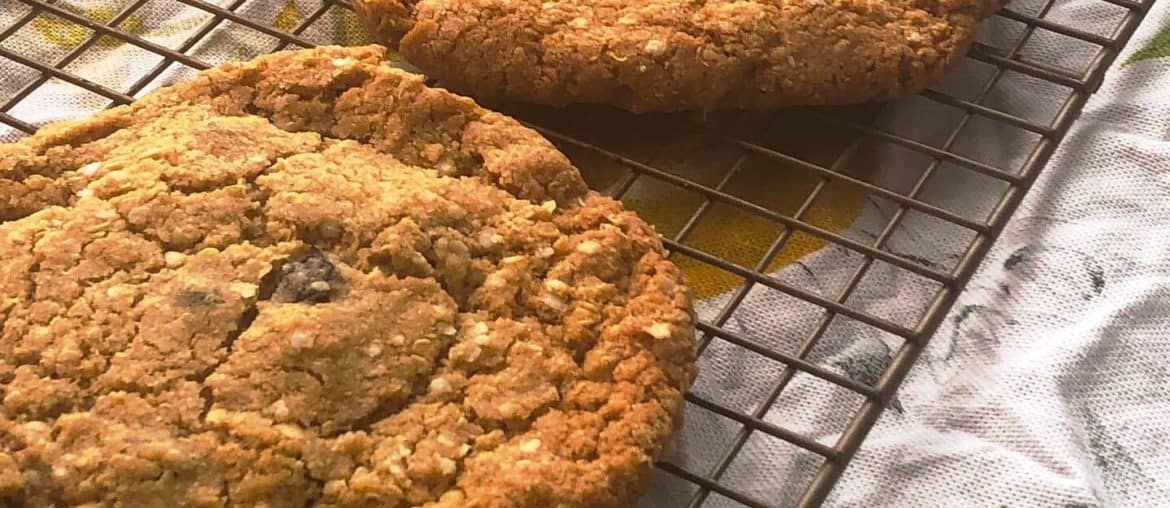
I’m excited to share my recipe for oatmeal raisin cookies because they’re honestly one of my all-time favourite cookies. They have a good weight, they bake easily, and they’re really hard to mess up! They even freeze well so you can store them in the freezer for when you want a ‘surprise’ cookie one evening. This is the recipe for my favourite Oatmeal Raisin Cookies.

Ingredients:

11/4 cups all-purpose flour
1 tsp ground cinnamon
1 tsp baking soda
1/2 tsp baking powder
1 tsp salt
1 tsp nutmeg
1/4 tsp ground ginger
1/4 tsp ground cloves
1 cup softened butter (unsalted)
1 cup granulated sugar
1/2 cup brown sugar (firmly packed)
1 egg
2 1/2 tsp vanilla extract (preferably high quality/Madagascar)
21/4 cup rolled oats (instant will not work for these)
11/4 cup raisins

Instructions:

Preheat oven to 350F.

Whisk together flour, spices, baking soda, powder and salt in a medium bowl and set aside.

Using a stand mixer fitted with the paddle attachment beat the butter until smooth on low speed. (2 minutes)

Increase speed to medium and beat in both sugars until smooth. (2-3 minutes)

On low, beat in egg until well combined and add in vanilla extract. Turn mixer off once combined.

Using a wooden spoon, mix in dry ingredients until just combined (some streaks of flour are okay). Add in the oats and raisins, mixing until well combined. Refrigerate for 30-60 minutes.

Line baking sheets with parchment paper and using a 1/4 cup sized icecream scoop, portion the dough and place onto the baking sheets, leaving 2-3″ between each cookie. (When you place them on the tray, flatten them slightly to ensure a cookie with even thickness).

Bake in the centre of the oven for 12-14 minutes until golden brown around the edges. Remove from the oven and let cool for 10 minutes on the sheet before moving to a wire rack. These will last for a few days in an airtight container or can be frozen for up to 3 months.

If you make these, please tag me @JackDHarding on Instagram and always feel free to DM questions!


Baking with Goat Butter

I have always liked experimenting with my baking. Taking old family recipes and making them new or taking cookies I’ve found in a cookbook and turning them into something entirely different and one hundred percent my own is something I love to do. I’ve switched up spices (Chinese Five Spice Holiday Bars for example) and even created better fillings for pastry desserts (Powdered peanut butter and jam pop tarts)! So when I got the opportunity to try baking with goat butter, I was excited to say the least. Woolwich Dairy sent me some of their Mornington Goat Butter to bake with and I’m excited to share what I was able to come up with!

Zucchini Bread

This is a favourite of mine and is a recipe I’ve made multiple times in the last few weeks. You can whip this entire thing up in about an hour and 15 minutes (including baking time) and you have a fragrant, delicious loaf to have at home, or to bring with you to friends and family. This recipe will give you enough for (2) loaves in a regular loaf pan.

Ingredients:
12cups sugar (cane or regular)
eggs (at room temperature)
cups all purpose flour
teaspoons vanilla
cup softened Unsalted Goat Butter
cups zucchini, grated
1teaspoon salt
teaspoon baking soda
1teaspoon baking powder
teaspoons cinnamon
1 heaping teaspoon nutmeg
1 heaping teaspoon ginger
3/4 tsp cloves

Instructions:
Preheat oven to 350 degrees
Combine all ingredients
Pour into two greased loaf pans
Bake for one hour
Remove from heat and let sit for 5-10 minutes and bang pan against counter to loosen loaf before removing from pan

Campfire S’Mores Cookies

What’s better than a day spent camping? Well, honestly, a lot of things if you’re asking me. (Why lay on the ground when you can lay in your bed, right?) If you’re like me and prefer the luxuries of living in your day-to-day home, these cookies will give you the camping feel with none of the mosquitoes.

Ingredients:
1 1/2 cups all purpose flour
1 teaspoon baking soda
1/2 teaspoon salt
1/2 cup unsalted goat butter, cold
1/3 cup granulated sugar (plus more for rolling)
1/3 cup brown sugar
1 egg (cold)
2 Tablespoons milk (cold)
1 teaspoon vanilla extract
12 large marshmallows (cut in half)
24 chocolate squares or chocolate drops

Instructions:

In a small bowl, whisk together the flour, baking soda, and salt. Set aside.

In a large bowl, beat together the butter and both sugars until light and creamy, about 2-3 minutes (shorter if you’re using a stand mixer with the paddle attachment.

Beat in the egg, milk, and vanilla. Gradually add in flour mixture. Refrigerate for 1 hour or until firm. (This is important or the cookies will spread extremely thin when baking).

Preheat oven to 375F degrees. Line 2-4 baking sheets with parchment paper.

Pour some sugar into a small bowl. Shape the dough into 1-inch balls, roll them in the sugar, then place them on the trays. Bake 8-10 minutes or until lightly browned. Once removed from oven, place the half marshmallow cut-side down into the centre of each cookie (not hard enough to make the cookie spread though). After 5 minutes, move to a cooling rack.

Turn the oven to broil. Place the cookies back onto the cookie sheets and broil until toasted. (Be careful, most ovens don’t have consistent heat so you may need to turn your tray). Otherwise, you can use a kitchen torch to toast each marshmallow). Once toasted place the chocolate on top and serve!


I hope you’ve enjoyed these! Thanks again to Woolwich Dairy for sending me their amazing products!

 

How to Make Tim Tams

“What’s your favourite cookie?”

I asked that to someone I was just getting to know recently.
Don’t ask me why, but it seems to be something that comes up with most people that I meet. Part of it is a weird fascination with wanting to know what people actually enjoy vs. what they think they should enjoy (the amount of times I have had people tell me they love stale oatmeal cookies, or undercooked chocolate chip cookies instead of saying a more “acceptable” answer like “fresh baked chocolate chip cookies with a crispy outside and gooey inside” has led me to believe that I am not the only one who is okay with a dessert or cookie that could be considered “wrong” from a traditional baking point of view). So when “TIM TAMS!” was blurted out with excitement I was surprised! I knew it was some sort of Australian dessert, but wasn’t entirely sure what it was. So always up for a challenge, I said I’d make him some homemade ones and he could tell me if they were better than store bought.

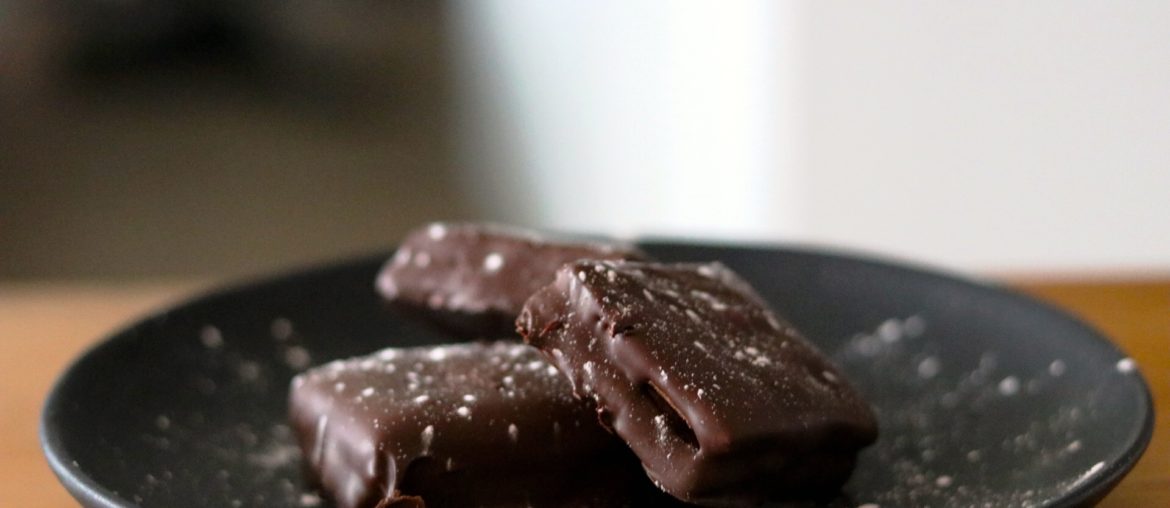
I realized quickly I should probably figure out exactly what it is. Wikipedia has this great description on them with their history here. But basically: “Tim Tam is a brand of chocolate biscuit made by the Australian biscuit company Arnott’s. It consists of two malted biscuits separated by a light chocolate cream filling and coated in a thin layer of textured chocolate.”

After searching for a few tips and tricks on how people made these, I headed into the kitchen and decided take a swing at these my way. I have shared these with not only the person who loves Tim Tams (who LOVED these) but also a few work partners of mine and friends and family. Every single one of them has come back asking for more. That’s always the best result!

Ingredients:
For the cookies:

1/2 Cup Unsalted Butter  (Do not try and sub in salted butter in this recipe)
1 Cup Icing Sugar
1 Egg at Room Temperature
1/3 Cup (Heaping) Unsweetened Cocoa Powder
1 Cup All Purpose Flour
Small Pinch of Salt

  1. Using a stand mixer fitted with the paddle, or a hand mixer and a large bowl, combine your room temperature butter, and powdered sugar and cream until it is nice and fluffy (it will likely become quite a pale colour, that is exactly what you want). Once that’s done, add in your egg and beat until it is incorporated. The colour should lighten a bit. Now add your cocoa powder and beat until smooth (you don’t want lumps). Now fold in your flour and salt (mix these together first) until everything is incorporated. Your dough should be soft and almost sticky.
  2. Layout a large sheet of wax/parchment paper and scrape out your dough onto this. Take a second sheet and place on top of your dough. Carefully, roll out the dough between these sheets making sure you are shaping it into a rectangle. You don’t want your dough too thick- roughly 1/4-1/3″ thick (remember, you’ll be stacking cookies on top of each other so you don’t want them too thick). Move this carefully onto a tray and place it in your freezer for 30-45 minutes until firm. (This way it won’t stick to the paper when you remove it).
  3. Preheat oven to 350F (if your oven tends to vary in temperature quite a bit, pump this to 370F. Now line baking sheets with parchment paper.
  4. Remove your dough from the freezer and with a sharp knife (or pizza cutter) and cut it into small squares (traditional Tim Tams are rectangles, but I found the square shape made for a much more pleasant eating experience). You should end up with roughly 22 or 24 squares (enough for 11-12 Tim Tams). Place these evenly on the baking trays and bake them for 10-12 minutes (you know they’re done when they almost have the look of a brownie on top. Don’t overcook them or they’ll be very dry). Leave them out to cool completely.

For the filling: 

1/2 Cup Unsalted Butter
1-1/4 Cup Icing Sugar
1 Heaping Tbsp unsweetened cocoa powder
1 Heaping Tbsp Ovaltine (if you don’t love malted drink powder, hot chocolate mix works well too)

  1. Using either a stand mixer or hand mixer, cream the butter and sugar. Sift in your cocoa powder and ovaltine. Using ~1Tbsp of icing per cooking, spread or pipe an even layer of filling on half of the cookies and top with the other cookies. Refrigerate.

For the Coating/Final Step:

1 Bag Chocolate Chips or 8oz Chocolate Squares (Milk or Dark Chocolate)
1 Tbsp Coconut Oil

  1. To make the coating, you can melt the chocolate on stove top (not my favourite) or in the easier (and really the only reason I use it) microwave. Combining the chocolate and oil, microwave on high in 30-second intervals, stirring between. After your second melt, you’re likely ready to go. (Should be smooth)
  2. Using a fork, dip the cookies into the melted chocolate and place them onto a cooling wrack (if you place them back onto the baking sheet I find the chocolate sticks to the pan). Once you’ve done this with all the cookies, place them back in the fridge until solid.

    Enjoy!


Recipe: Gluten Free Peanut Butter Cookies

Ingredients:
1 cup peanut butter
1 cup sugar
1 egg, beaten
1 tsp baking soda

Directions

  1. Preheat oven to 350F and grease cookie sheets.
  2. Beat together peanut butter and sugar in a large bowl with an electric mixer until smooth.
  3. Add beaten egg and baking soda to peanut butter mixture and beat until well combined.
  4. Roll 1 teaspoon of dough into a ball and place on cookie sheet.
  5. Place dough balls one inch apart on cookie sheet and flatten with fork making a cross pattern.
  6. Bake until puffed and a golden pale, about 10 minutes.
  7. Cool cookies on baking sheet about 2 minutes and then transfer with spatula to rack to cool.
  8. May be kept in airtight container at room temperature for 5 days.
  9. Makes about 2 dozen cookies.