Tag

home baking

Browsing

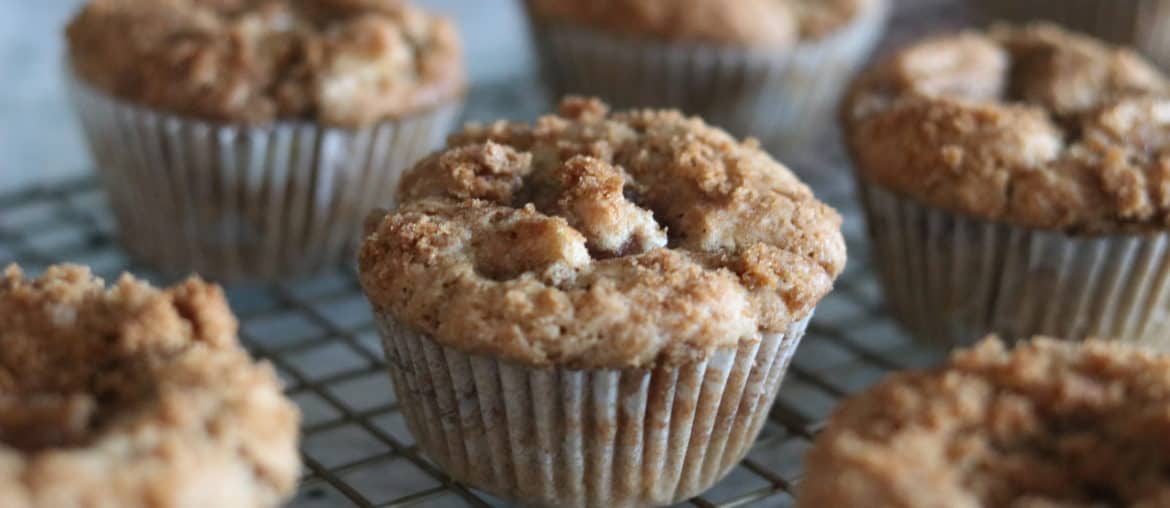
Delicious Breakfast Apple Streusel Muffins

I typically enjoy a savoury breakfast. I’m a bit of a creature of habit in that my go-to breakfast is usually one English muffin, one egg, and a small squirt of ketchup (no judgement please). Sometimes if I am feeling *fancy* I’ll add some turkey bacon or make a ground chicken patty to make a homemade McMuffin.

Every once and a while though I wake up craving something a bit sweeter. I used to go grab a cinnamon raisin bagel or opt for a croissant, but I wanted something I didn’t have to leave my condo for (especially on a cold winter day). That’s where these muffins come in! I always leave a bunch of them individually wrapped and frozen in the freezer, and pop in the oven for a few minutes in the morning. Between the smell of the cinnamon, the warmth of the muffin, and the soft feeling of the baked apples, these are a perfect breakfast treat and will help make your day whenever you have them!

Ingredients:

2 Cups All-Purpose Flour
1 Tsp Cinnamon
1 Tsp Nutmeg
1/2 Tsp Cloves
1/2 Tsp Ground Ginger
1 Tsp Baking Powder
1/2 Tsp Baking Soda
1/2 Tsp Salt
1/2 cup unsalted butter, softened
1 cup granulated sugar
2 large eggs (room temperature)
11/2 tsp vanilla extract
2 large golden delicious apples (cored, chopped)
Topping:
1/2 cup dark brown sugar
1 Tbsp all-purpose flour
1/2 tsp cinnamon
1/4 tsp ginger
1/4 tsp nutmeg
2 tbsp cold butter cut into small pieces

Instructions:

Preheat oven to 375F and line a muffin tin with paper liners.

(from the muffin ingredients) In a medium bowl, combine the flour, spices, baking powder and soda, and salt. Whisk together.

In the stand mixer on medium, beat the butter, sugar, eggs and vanilla until smooth. Remove the bowl from the stand mixer and stir in the apples. Add the flour mixture and mix until moistened. Be careful not to overmix.

Fill the cupcake tins about 3/4 of the way with the batter. There should be enough batter for 12 muffins.

(for the topping) Whisk together sugar and spices in a small bowl and add the butter. Using your fingers or a fork, mix the butter and the sugar/spice mixture until it resembles crumbs. Sprinkle the topping onto each muffin.

Bake for 18-22 minutes until a wooden skewer inserted in the middle comes out clean.

Cool in the pan for 5-7 minutes and remove and let totally cool on a wire rack. These will last in an airtight container at room temperature for 3-4 days, or freeze well for up to 3 months (just thaw and reheat before eating again).

If you made these, please send me a picture of them or upload them to Instagram and tag me at @JackDHarding. Feel free to send me any questions or comments as well!
How to Make Oatmeal Raisin Cookies

Raisins get a lot of hate on the internet. There are countless memes about finding a raisin in your cookie instead of a chocolate chip and having it be one of the worst things that could happen. People compare them to every sort of terrible thing, and honestly, I don’t get it.

I’ve enjoyed raisins since I was a child (those little boxes of raisins at snack time anyone?) and still love them today! While they’re not the healthiest snack in the world, I will always choose a serving of raisins over a serving of chocolate chips!

As someone who likes to bake, you can do a lot with raisins! You can soak them in different liquids (like rum) and bake them into fruit cakes or other cookies or you can keep them as-is and bake them into bread, cookies, bars, etc….

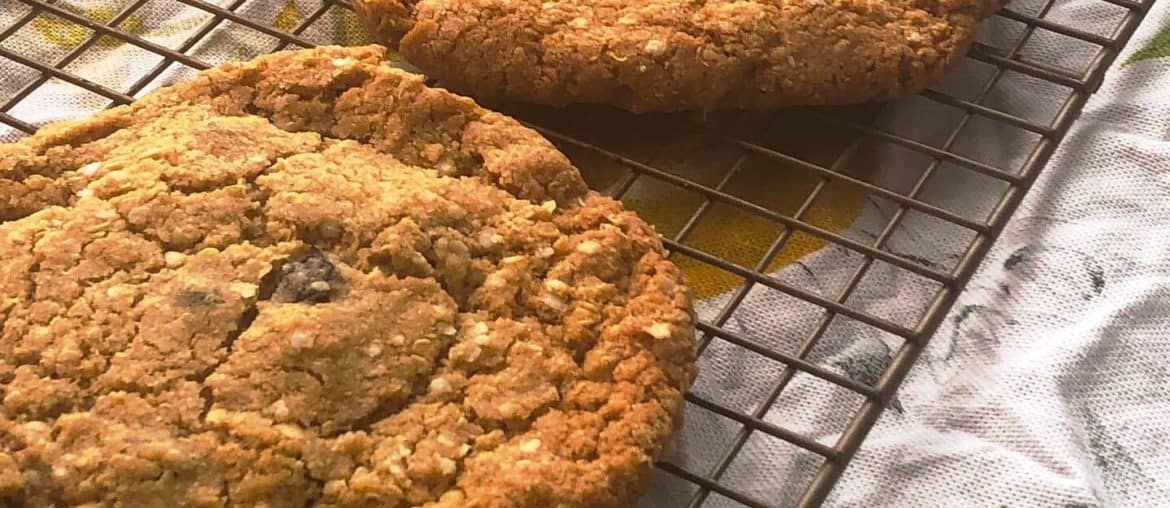
I’m excited to share my recipe for oatmeal raisin cookies because they’re honestly one of my all-time favourite cookies. They have a good weight, they bake easily, and they’re really hard to mess up! They even freeze well so you can store them in the freezer for when you want a ‘surprise’ cookie one evening. This is the recipe for my favourite Oatmeal Raisin Cookies.

Ingredients:

11/4 cups all-purpose flour
1 tsp ground cinnamon
1 tsp baking soda
1/2 tsp baking powder
1 tsp salt
1 tsp nutmeg
1/4 tsp ground ginger
1/4 tsp ground cloves
1 cup softened butter (unsalted)
1 cup granulated sugar
1/2 cup brown sugar (firmly packed)
1 egg
2 1/2 tsp vanilla extract (preferably high quality/Madagascar)
21/4 cup rolled oats (instant will not work for these)
11/4 cup raisins

Instructions:

Preheat oven to 350F.

Whisk together flour, spices, baking soda, powder and salt in a medium bowl and set aside.

Using a stand mixer fitted with the paddle attachment beat the butter until smooth on low speed. (2 minutes)

Increase speed to medium and beat in both sugars until smooth. (2-3 minutes)

On low, beat in egg until well combined and add in vanilla extract. Turn mixer off once combined.

Using a wooden spoon, mix in dry ingredients until just combined (some streaks of flour are okay). Add in the oats and raisins, mixing until well combined. Refrigerate for 30-60 minutes.

Line baking sheets with parchment paper and using a 1/4 cup sized icecream scoop, portion the dough and place onto the baking sheets, leaving 2-3″ between each cookie. (When you place them on the tray, flatten them slightly to ensure a cookie with even thickness).

Bake in the centre of the oven for 12-14 minutes until golden brown around the edges. Remove from the oven and let cool for 10 minutes on the sheet before moving to a wire rack. These will last for a few days in an airtight container or can be frozen for up to 3 months.

If you make these, please tag me @JackDHarding on Instagram and always feel free to DM questions!


Sprinkle Donut Holes

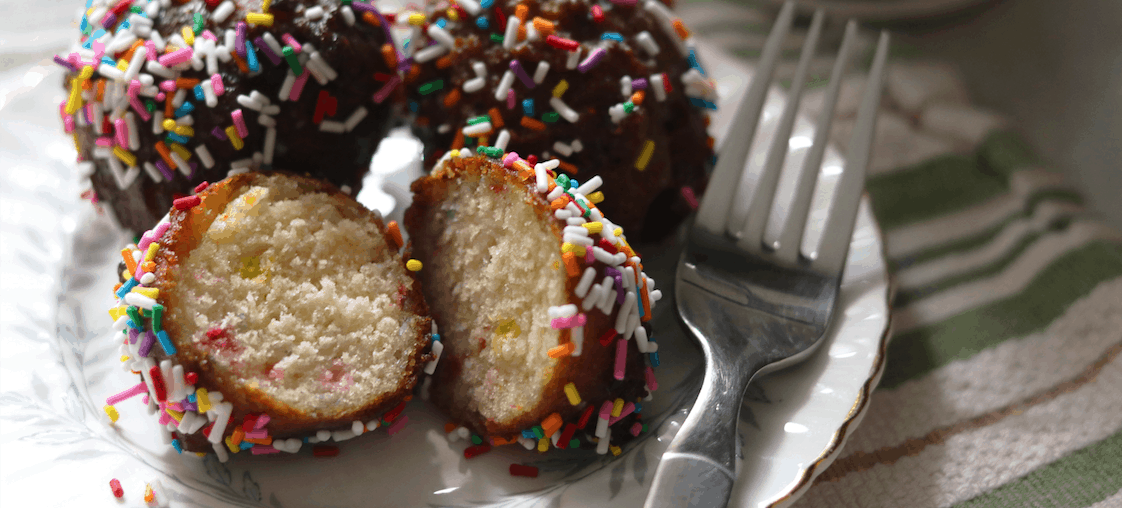
If you’re an American friend, the term “TimBit” isn’t going to mean much to you which is why this recipe was called “Sprinkle Donut Holes” instead of what any Canadian would call it “Sprinkle Timbits.” If you grew up in Canada you’ll know that the term donut hole never caught on because the chain Tim Hortons sold “TimBits” (their version and branded with their name) and heavily marketed them for years. Now you can tell a Canadian traveller quite easy when they step into a bakery and ask for one. I’m really excited to have created a great recipe for these that not only fries well, but has a great mouth feel and are delicious! I guarantee that you’re going to love these!

Ingredients:

Donuts:
2 Cups All Purpose Flour
3 Tbsp Brown Sugar
1 1/2 Tbsp Baking Powder
1 Cup Milk
1 Large Egg
1 Tsp Pure Vanilla Extract
1/4 Cup Salted Butter, melted
1/3 Cup Sprinkles

Glaze: 
2 Cups Powdered Sugar
1/3 Cup Milk
1/2 Cup Sprinkles (for coating)

Instructions:

  1. Whisk flour, brown sugar, baking powder, and 3/4 teaspoon salt together in a large bowl, make sure it’s well mixed.
  2. Combine the milk, egg and vanilla extract in a smaller bowl and add into the flour mix. Add in the melted butter and the sprinkles and mix until a dough starts to form.
  3. In a large heavy bottom pot, heat at least 2″ of vegetable oil to 350F. Aside, line a wire rack with paper towel.
  4. Using an two spoons, spoon the dough into the hot oil. Fry until they’re golden brown (about 1-2 minutes per side) depending on how quickly your oil starts to cool. Using a slotted spoon, transfer to the rack andlet cool. 
  5. Once the donuts have cooked and are cooling: whisk powdered sugar, sprinkles, lemon juice, milk, vanilla extract, and salt together in a bowl to make the glaze. It should be smooth.
  6. Place a wire rack on a baking sheet. Dip each donut hole (one at a time) into the glaze and place on the rack; allow excess glaze to drip off before serving. (I add some extra sprinkles while they’re drying, but this is totally up to you).

Homemade Peanut Butter and Jam “Poptarts”

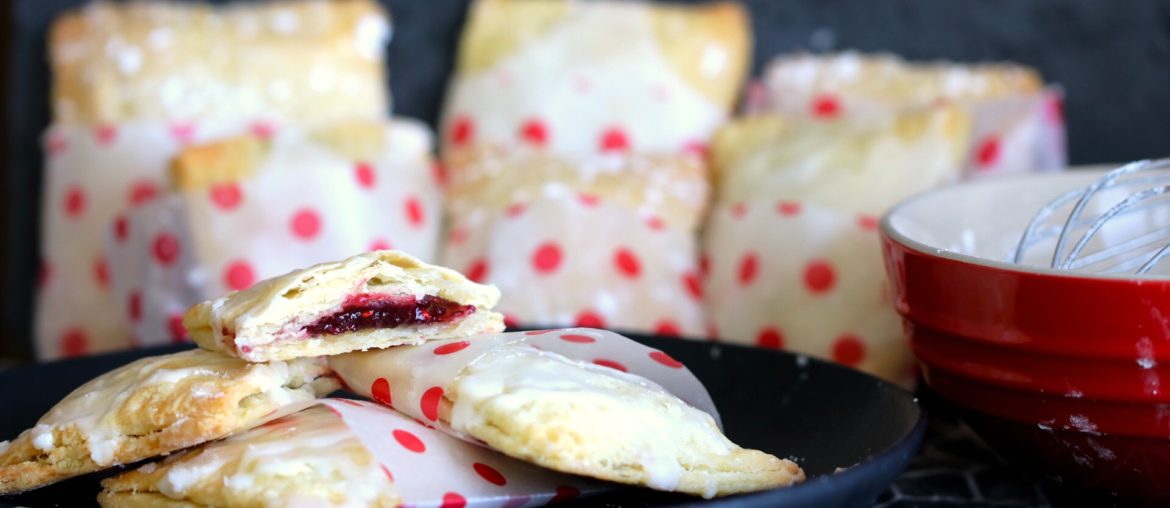
I used to LOVE Poptarts as a kid. There wasn’t really a flavour that I didn’t like. Sprinkles? Great. Raspberry? Perfect. Chocolate? Even better. Now, even though I haven’t had one in years (not really something you pick up at the grocery store in between your frozen greens and chicken breasts) when I started seeing a lot of people trying their hand at making their own, I was like “I can do that!” Challenged by a friend of mine via DM to make some different flavoured ones, I came up with these- Peanut Butter and Jam PopTarts.

Ingredients:
Pastry:
2 Cups All Purpose Flour
1 Tbsp granulated sugar
1 tsp salt
1 Cup unsalted butter, cold, cubed
1 Egg
2 Tbsp Milk

Filling:
3/4 cup raspberry jam (roughly one medium sized jar)
1 Tbsp Cornstarch
1 Tbsp Water
2-3 Tbsp Powdered Peanut Butter

Glaze: 
1 Cup Powdered Sugar
1.5 Tbsp Milk
1/4 Tsp vanilla extract

Instructions:

Filling: 

  1. In a small bowl, whisk together the cornstarch and water, and then combine with the jam in a small saucepan over medium heat. Bring to a boil and simmer for 2 minutes, stirring frequently. Remove from the heat and let cool. Once this has cooled, add in your powdered peanut butter 1Tbsp at a time. Taste as you go, and that will determine how much you’ll want to add.

Pastry:

  1. In a large bowl (trust me, you’ll want the room) whisk together flour, sugar and salt. Using a pastry blender (or a fork) cut in the butter until it is the size of peas and when you squeeze the mixture it holds together. (A good trick for this is to cut the butter into small enough cubes and mix them in slow so you get the thorough mix). In a smaller bowl, mix together the egg and milk and then add it to your dough. Combine with a fork until everything is evenly mixed and moist. On a floured countered, knead it briefly until the dough is perfectly together.
  2. Divide the dough in half (if you’d like, you can wrap these in plastic and store in fridge for 2-3 days) and roll out one of these pieces to about 1/8″ thick and about 9″x 12″ (think like a big piece of paper). Using a very sharp knife or pastry wheel,  trim the edges and then divide the dough into 3×4 rectangles. Transfer these (with a spatula, you want to avoid introducing them to your body heat) to a lined baking sheet.
  3. Brush an egg wash (egg and milk) on each of the rectangles and spoon a tablespoon or so of filling into the centre of each rectangle (make sure there is a border of about 1/2″ around the edges).
  4. Roll out and cut your second piece of dough just like you did the first and place a second rectangle of dough onto each of the already assembled ones. Using your fingers to press around the edges to seal then, Use a fork to then crimp the edges and poke small holes in the top to allow air to escape.
  5. Refrigerate the pan with the pastries (you don’t need to cover them) for 30-45 minutes (You want them to get hard).
  6. Preheat the oven to 350F.
  7. Bake the pastries for 25 to 30 minutes, or until lightly browned. If you’re not planning on using the icing, you can eat them fairly warm (just be careful not to burn yourself). If you’re using the glaze, I toss these into the fridge for 30 minutes to cool down. Once cooled, combine all the glaze ingredients in a bowl. Drizzle the glaze over the poptarts (sitting them on a wire rack and doing it this way gives them a really pretty glaze).

I hope you enjoy these! The peanut butter was a lucky surprise when I was making these and I hope you’ll come to love them as much as I do.